CHOCOLATE CUPCAKES WITH DARK CHOCOLATE FROSTING Makes 14 For the cupcakes For the cupcakes 60g/2oz caster sugar 60g/2oz unsalted butter, softened 1 egg 45g/1.5 oz self raising flour 15g/0.5oz cocoa For the frosting 60g/2oz dark chocolate 100g/3.5oz mascarpone, room temperature Method
In a bowl, cream together the butter and sugar until pale. Add the egg and beat until thoroughly combined.
Sift the flour and cocoa into the bowl and fold into the mixture until almost smooth.
Line the cupcake holes with cake cases and spoon the mixture equally between them. Bake for 8 to 9 minutes. When the cakes are ready, turn them out onto a wire rack to cool.
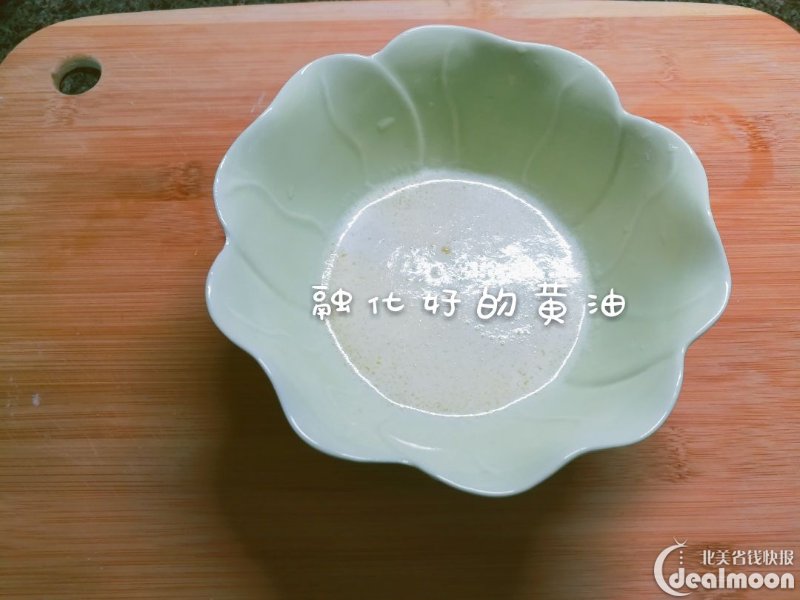
Whilst the cakes are cooling, begin to make the frosting by melting the chocolate in a bowl over a pan of gently simmering water. Stir until the chocolate has melted smoothly.
Remove the bowl from the heat and let the chocolate cool slightly. Gently stir the mascarpone into the cooled chocolate until thick and creamy. Pipe or spoon the frosting onto the cooled cakes.
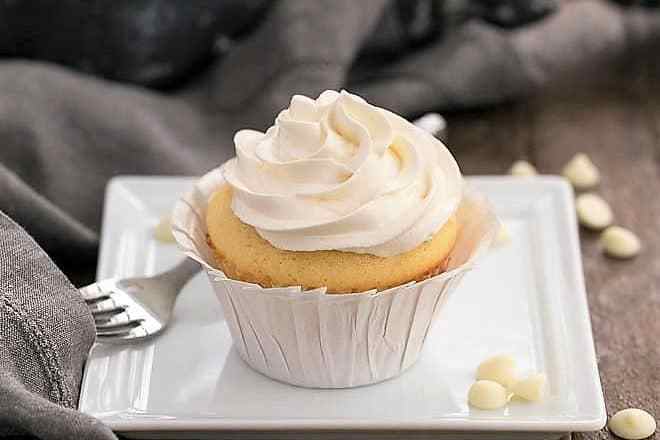
VANILLA CUPCAKES WITH WHITE CHOCOLATE AND VANILLA FROSTING Makes 14 For the cupcakes 60g/2oz caster sugar 60g/2 oz unsalted butter, softened 1 egg 2tsp vanilla extract 60g/2oz self raising flour For the frosting 60g/2oz white chocolate 100g/3.5oz mascarpone, room temperature 1tsp vanilla extract Method
In a bowl, cream together the butter and sugar until pale. Add the egg and vanilla extract, and beat until thoroughly combined.
Sift the flour into the bowl and fold into the mixture until almost smooth.
Line the cupcake holes with cake cases and spoon the mixture equally between them. Bake for 8 to 9 minutes. When the cakes are ready, turn them out onto a wire rack to cool.
Whilst the cakes are cooling, begin to make the frosting by melting the chocolate in a bowl over a pan of gently simmering water. Stir until the chocolate has melted smoothly.
Remove the bowl from the heat and let the chocolate cool slightly. Gently stir the mascarpone into the cooled chocolate until thick and creamy. Pipe or spoon the frosting onto the cooled cakes.
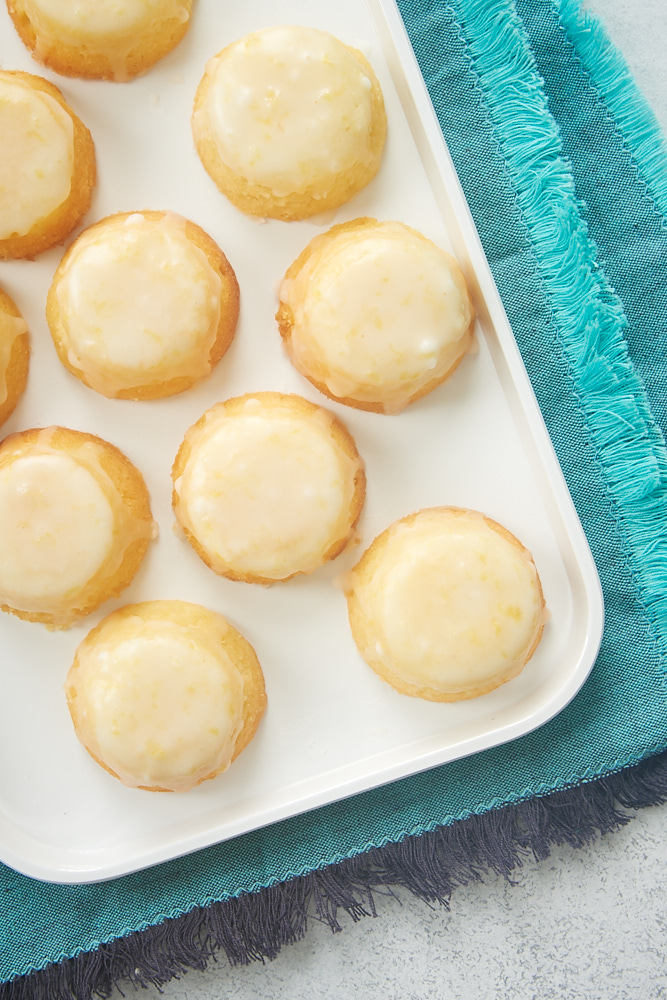
LEMON CUPCAKES WITH LEMON BUTTERCREAM ICING Makes 14 For the cupcakes 60g/2oz caster sugar 60g/2 oz unsalted butter, softened 1 egg Zest of 1 lemon Juice of ½ a lemon 60g/2 oz self raising flour For the frosting 120g/4oz unsalted butter, softened 250g/8oz icing sugar Juice of ½ a lemon 2tbsp milk Method
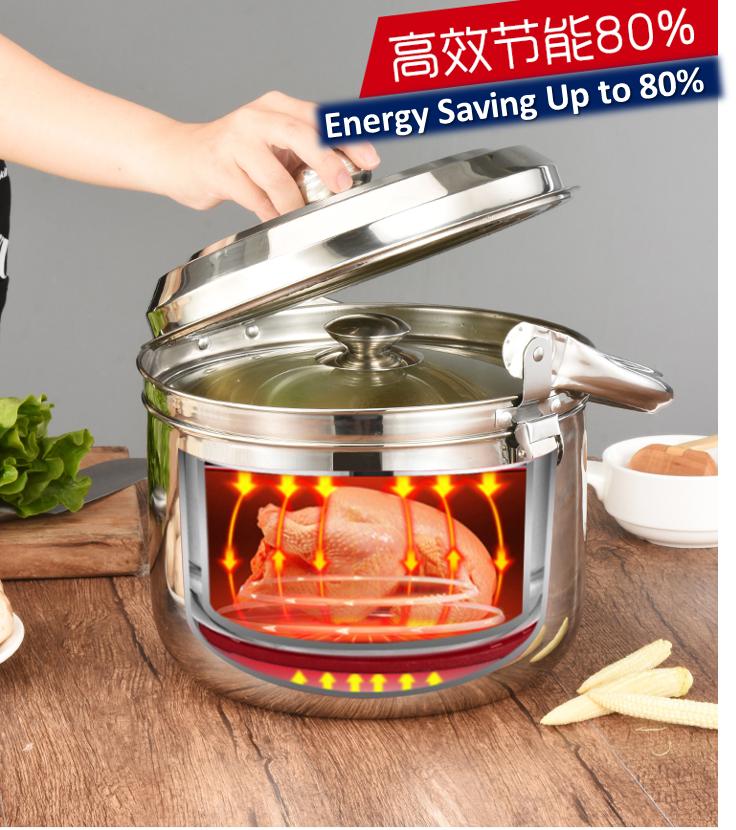
Basically, it’s a very big vacuum flask that can cook and keep warm for hours without using power. Like a Thermos, it has a layer of vacuum insulation that helps retain the heat in the food for many hours. The heat cooks the food slowly in the same way as a slow cooker would. It’s popularly known as the Magic Cooker, other names include Wonder Cooker, Eco Pot and Self Cooking Pot.
The best thing about a thermal cooker is that it continues the cooking process without using any electricity or gas. Slow cookers consume a lot of power and tend to dry up some of the liquid in the food. Sometimes food gets burnt at the bottom if it is left to cook for too long without being stirred.
Problems like these are not encountered in thermal cooking as the food will never dry up or get burnt. Once the food is inside, there is no need to keep checking or stirring the pot. Most meat will turn out tender, moist and cooked to perfection, while the vegetables and potatoes retain their shape and texture. No wonder it’s called a magic cooker!
Different Models
Small models (3 litres) come with one stainless steel inner pot with a lid and one outer insulated pot. Most larger models (6 litres or more) come with two stackable inner cooking pots—one large pot and one small pot plus the outer insulated pot.
With two inner cooking pots, you can prepare two separate dishes simultaneously with one cooker. Try preparing a casserole in the large pot and rice in the small pot, or soup in the big pot and dessert in the small pot, or even make a cake in the pot. Some of my recipes for thermal cooking are included below for you to prepare some great dishes using a thermal cooker.
How to Use
There are only a few simple steps to cooking with a thermal cooker:
Prepare the ingredients and put them into the inner cooking pot that comes with the cooker set.
Put the inner pot on the stove and bring it to the boil, then reduce the heat and simmer for 10 to 15 minutes, depending on the recipe.
Turn off the heat and transfer the inner cooking pot from the stove to the outer thermal pot, close the lid and leave it to do the rest of the cooking. How easy is that? It will save you so much time and believe me, you will have more time to pamper yourself.
After the minimum required cooking time, the meal is ready to serve. Even if you are not ready to eat, the food stays warm for a few hours so you can always enjoy warm meals without having to reheat the food.
The bigger the cooker, the longer the food will stay warm. A six-litre cooker will retain heat for 8 to 10 hours, with a heat loss of 3 or 4°C per hour. The more liquid you have in the cooking, the longer the food will stay hot. The recommended instruction is to fill the pot with over 50% and up to 80% full with food and liquid. If you fill a six-litre pot with food, that amount might even be good for two meals for a small family.
The thermal cooker can also be used as a cooler because it retains the temperature of the food. It is great for storing chilled food like salad, desserts and ice cubes when bringing food outdoors in summer.
Food Safety Standards
The safe temperature for hot food should be above 60°C to prevent the risk of food poisoning, while cold food should be stored below 4°C. If any of the cooked food needs to be reheated, make sure it is reheated above 60°C to minimise the risk of food poisoning.
Advantages of Thermal Cooking
Cooking time on the stove is less than 20 minutes (yay!).
Great for casseroles and slow-cooker recipes.
Food stays moist and tender and vegetables retain their shape and texture.
The thermal cooker can be used for making cakes or muffins.
Food does not get overcooked, dried up or burnt.
Cooking can be done on the gas stove, electric stove and open campfire (great for camping).
Thermal cooking saves energy because cooking time on the stove is less than 20 minutes (definitely less money to pay when the gas bill arrives!).
No scrubbing of burnt food and less washing to do because everything can be served from the pot if nobody complains!
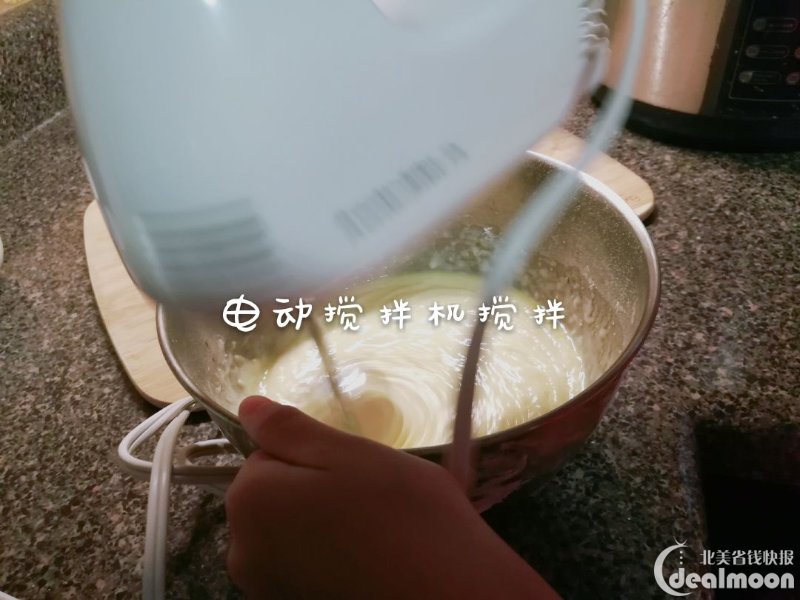
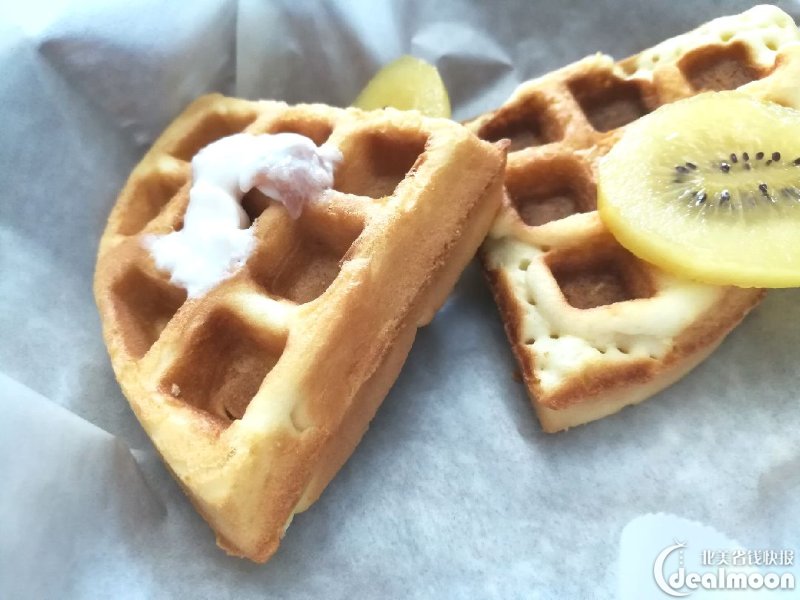
In a medium bowl, combine the flour, cornstarch, baking powder, baking soda, and salt; mix well. Add the milk, vegetable oil, egg, sugar and vanilla and mix well. Let the batter sit for 30 minutes.
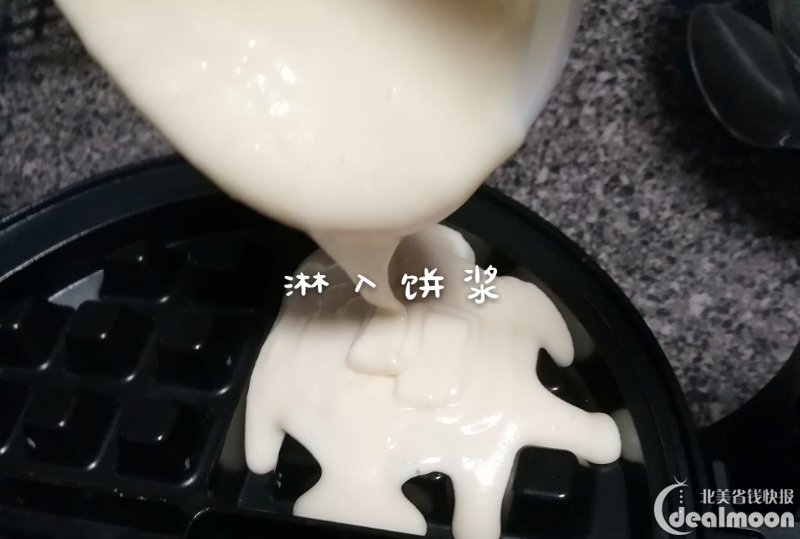
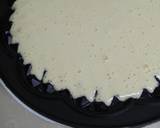
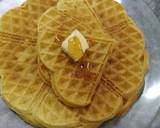
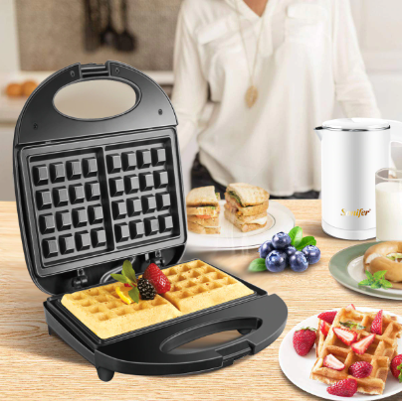
Preheat a waffle iron. Do not use non-stick spray on the waffle iron; the oil in the batter will allow the waffle to release easily. Follow the directions on your waffle iron to cook the waffles. Serve immediately with butter and syrup.
This recipe was provided by a chef, restaurant or culinary professional. It has not been tested for home use.
These light and crispy waffles come together quickly. Cornstarch is the secret for crispy waffles. Mixed with flour, cornstarch guarantees that your waffles will be perfectly crisp on the outside and tender on the inside.Makes approximately 4 to 5 waffles, depending on waffle iron
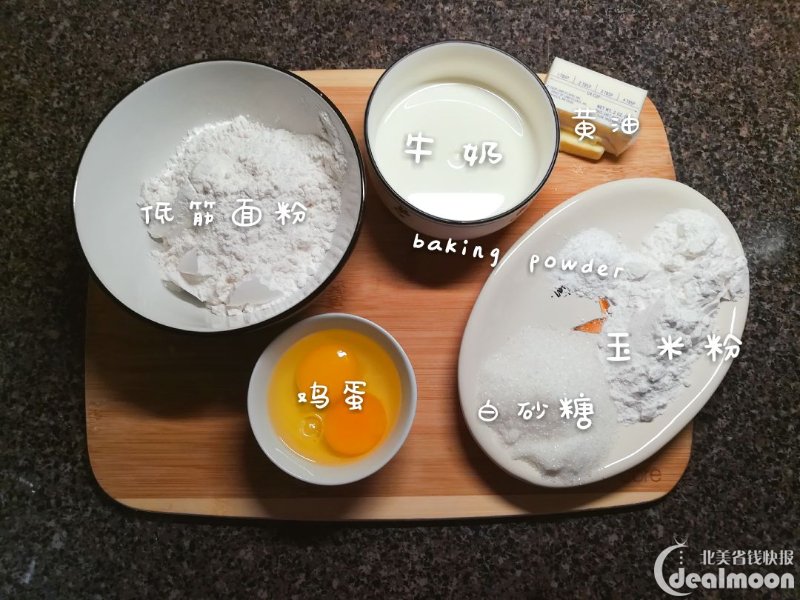
YOU WILL NEED
3/4 cup (100 grams) all-purpose flour
1/4 cup (30 grams) cornstarch
1/2 teaspoon baking powder
1/4 teaspoon baking soda
1 tablespoon sugar
1/2 teaspoon kosher salt
1 cup (235 ml) milk, whole or 2% reduced fat milk are best
1/3 cup (80 ml) vegetable or lightly flavored oil
1 large egg
1 teaspoon vanilla extract
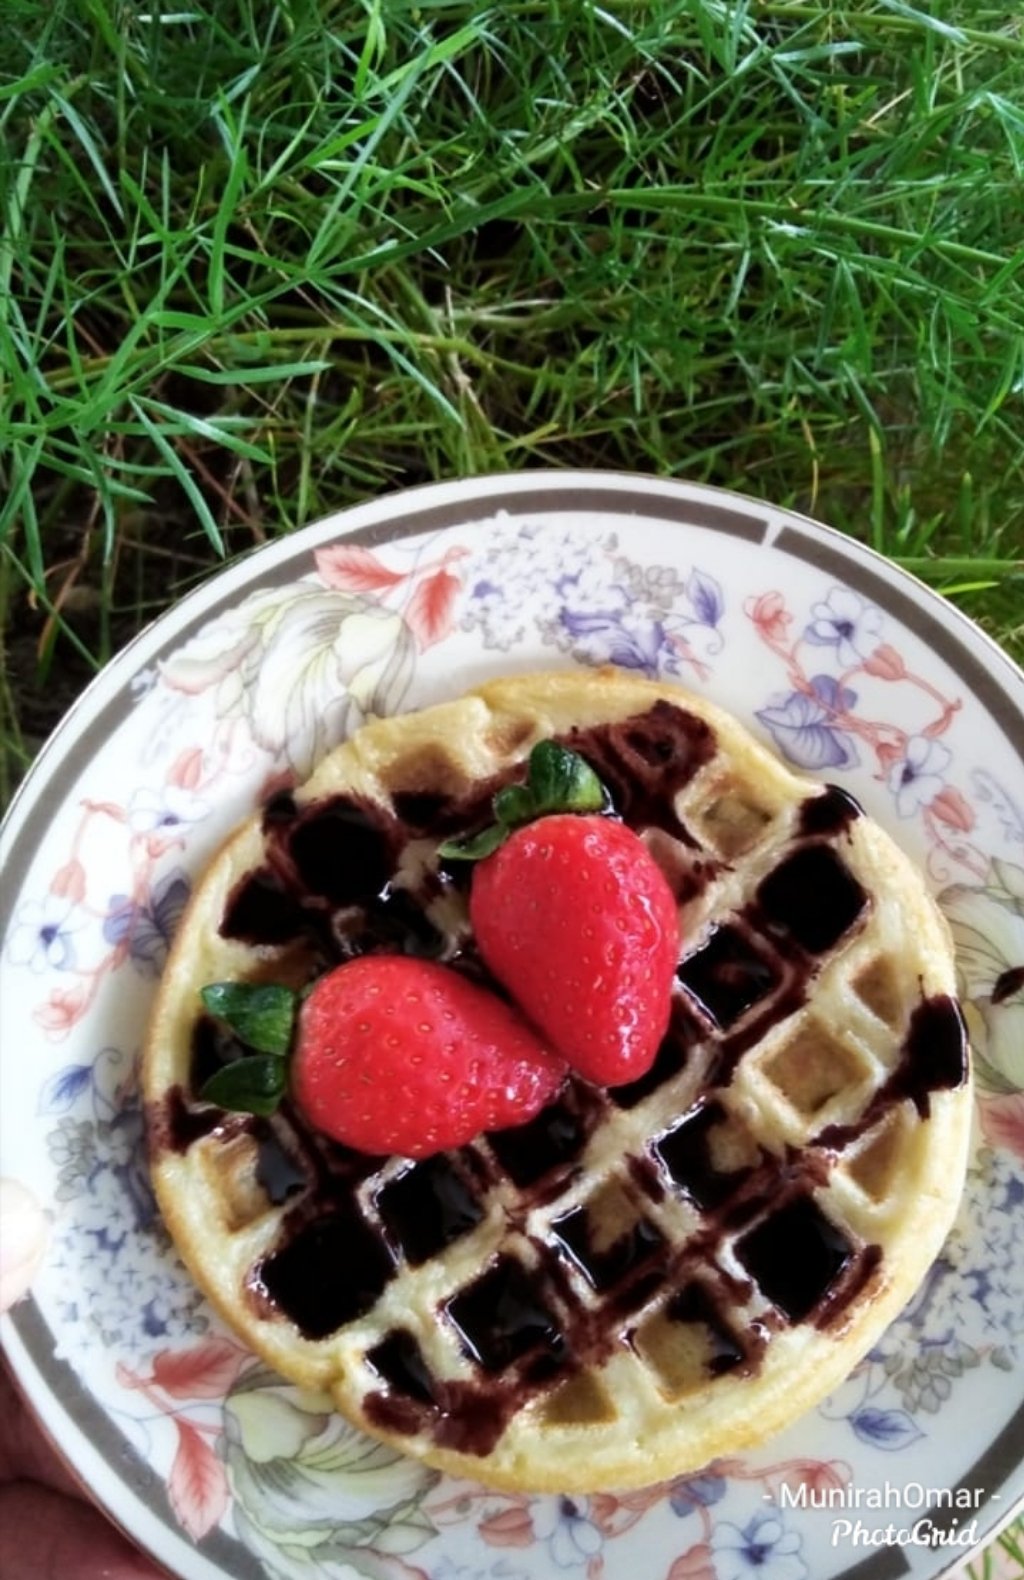
Butter, syrup and/or berries, for serving
DIRECTIONS
PREPARE BATTER
MAKE WAFFLES
ADAM AND JOANNE’S TIPS
Buttermilk Waffles: To make buttermilk waffles, simply replace the milk with 1 cup of buttermilk. Or, use a combination of milk and buttermilk.
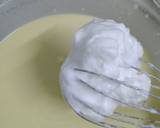
Extra Light Waffles: For even lighter waffles you can separate the egg. Mix the yolk into the wet ingredients. Then, whip the egg white until stiff peaks form. Once you’ve blended the dry and wet ingredients, fold in the beaten egg white.
About the Salt: We use kosher salt. If you don’t have it on hand, keep this in mind: 1 teaspoon fine sea or table salt = about 1 1/4 teaspoons kosher salt.
Nutrition facts: The nutrition facts provided below are estimates. We have used the USDA Supertracker recipe calculator to calculate approximate values. We assumed 5 waffles. The calculations below are for 1 of 5 waffles.
NUTRITION PER SERVING: Calories 262 / Protein 5 g / Carbohydrate 25 g / Dietary Fiber 1 g / Total Sugars 5 g / Total Fat 16 g / Saturated Fat 3 g / Cholesterol 41 mg
I love these light and crispy waffles. Our waffle recipe is quick and simple to make and produces the best light and crispy homemade waffles.
If you are looking for light and crispy waffles then you are most certainly in the right place. I love my waffles to be on the thinner side. Our recipe makes four to five thin waffles (maybe 1/2-inch thick). If you are looking to make Belgian waffles or are using a deep waffle iron, you will probably get around three waffles from our recipe below.
Waffle Batter Ingredients
Let me walk you through what you will need so you can say goodbye to flavorless, floppy waffles and hello to waffles that are light and crispy on the outside and chewy in the middle.
All-purpose flour is my go-to flour for these waffles. You can try whole wheat flour if you’d like, just expect the texture to be a little heavier.
Cornstarch is our “secret ingredient” for making the crispiest waffles. Mixed with flour, cornstarch guarantees that your waffles will be perfectly crisp on the outside and tender on the inside.
Baking powder and baking soda help the waffles rise and brown. For the lightest waffles, I recommend using both.
Sugar, salt, and vanilla extract provide lots of flavor. I keep the sugar amount low since I love pouring maple syrup on top, but for sweeter waffles, you can increase the sugar. I call for 1 tablespoon, but adding an additional tablespoon wouldn’t hurt.
Milk and oil are the liquid components to the recipe. You can use regular milk or non-dairy milk. As for the oil, I stick with something that tastes neutral like grape seed or safflower oil. For a coconut flavor, you could try melted coconut oil. If you are wondering about butter, you can use it, but the oil will produce a more light and airy waffle.
Egg adds tenderness and provides structure. Just one egg does the trick. If you want waffles without eggs, you can substitute with a flax egg.
How To Make Buttermilk Waffles
Since sharing our waffle recipe, many of our readers have asked if our waffles recipe can be made using buttermilk. The answer is 100% yes! Since we rarely have buttermilk in the fridge when waffle cravings hit, we thought it was important to share how to make them without buttermilk, but the great thing about this recipe is that you can use regular milk, non-dairy milk, and even buttermilk.
Step By Step Method For Making Waffles
The process for making these waffles could not be simpler. Let me walk you through how I do it:
Whisk the dry ingredients together. That’s the flour, cornstarch, baking powder, baking soda, and a touch of salt.
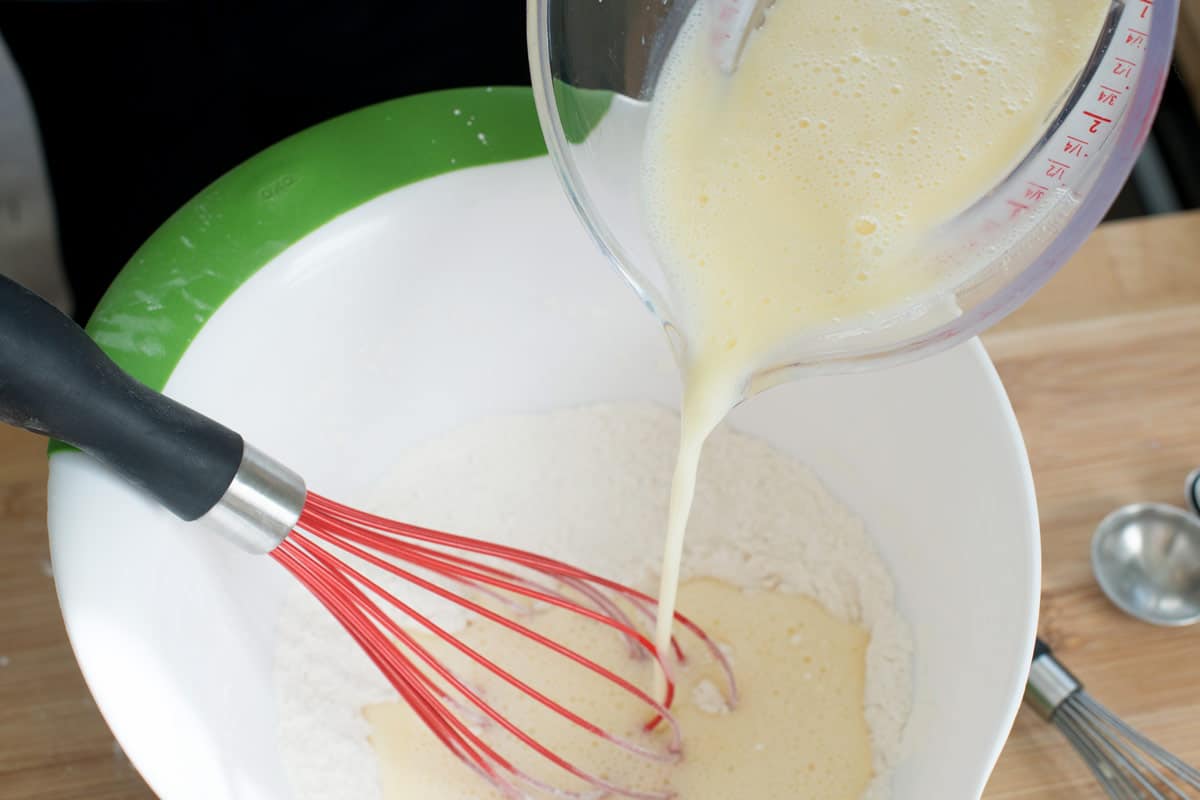
Whisk the wet ingredients together in another bowl or do what I do and whisk them right in a measuring jug. Hooray for less dishes!
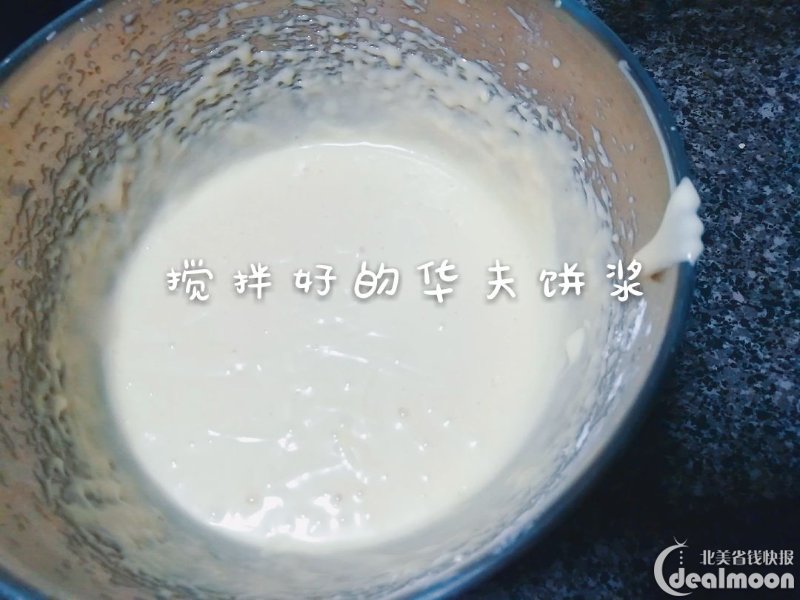
Combine the wet and dry ingredients. I whisk until I no longer see streaks of flour. If there are a few small lumps of flour left, that’s okay.
Set the batter aside for 10 minutes. In this time, you can preheat your oven (I talk about why below) as well as your waffle iron. The 10 minutes of rest time allows the baking powder to activate.
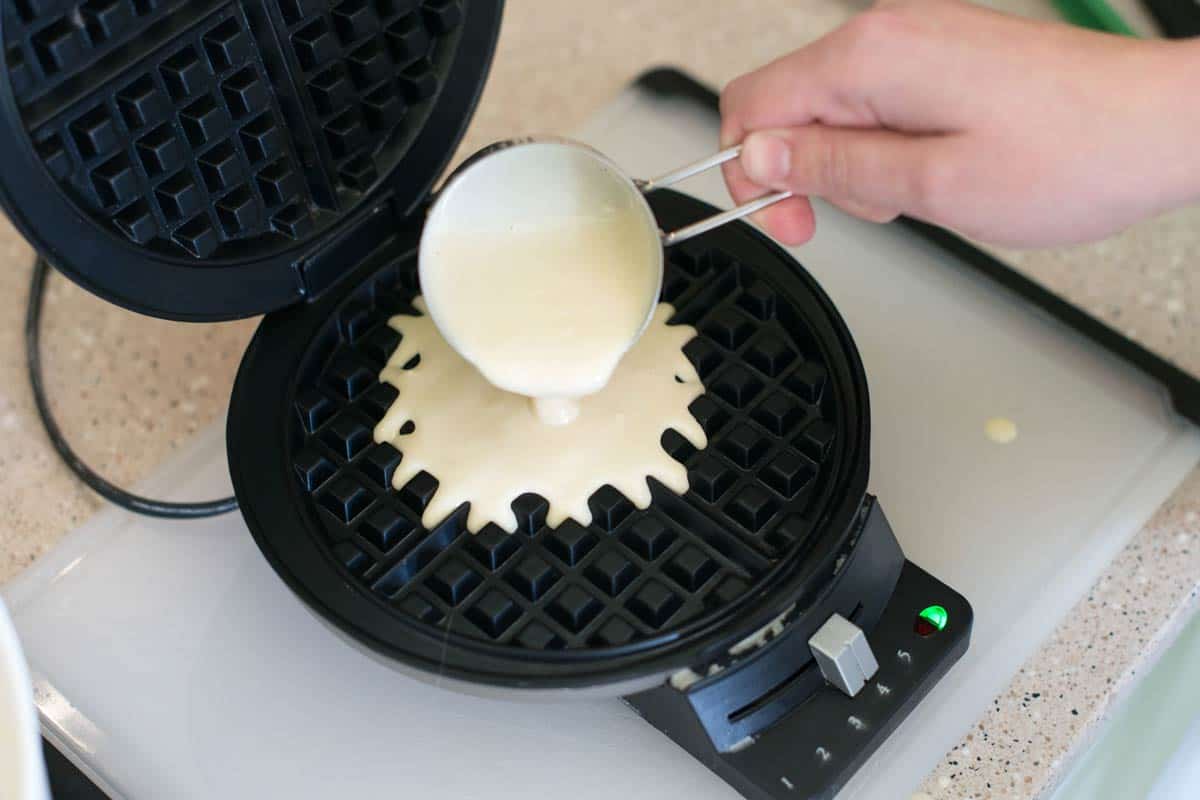
Cook the waffles. I use about 1/2 cup of batter for each waffle, but the amount of batter will depend on your waffle iron.
Transfer cooked waffles to a warm (200°F) oven so they stay warm and crisp
The combination of flour and cornstarch guarantees light and crispy waffles.
For light and airy waffles mix the batter until just combined, there’s no need to over whisk the batter.
I love my waffles on the thinner side and find a regular waffle iron is perfect for this recipe.
As waffles sit, they loose their crispness. To prevent floppy waffles, keep the cooked waffles in a warm oven while you finish cooking the rest of the batch.
More Of My Waffle Tips
Don’t overwork the batter. Just like pancakes or muffins, you want to be gentle when mixing the wet and dry ingredients together. Only whisk or stir until just mixed — no need for beating here.
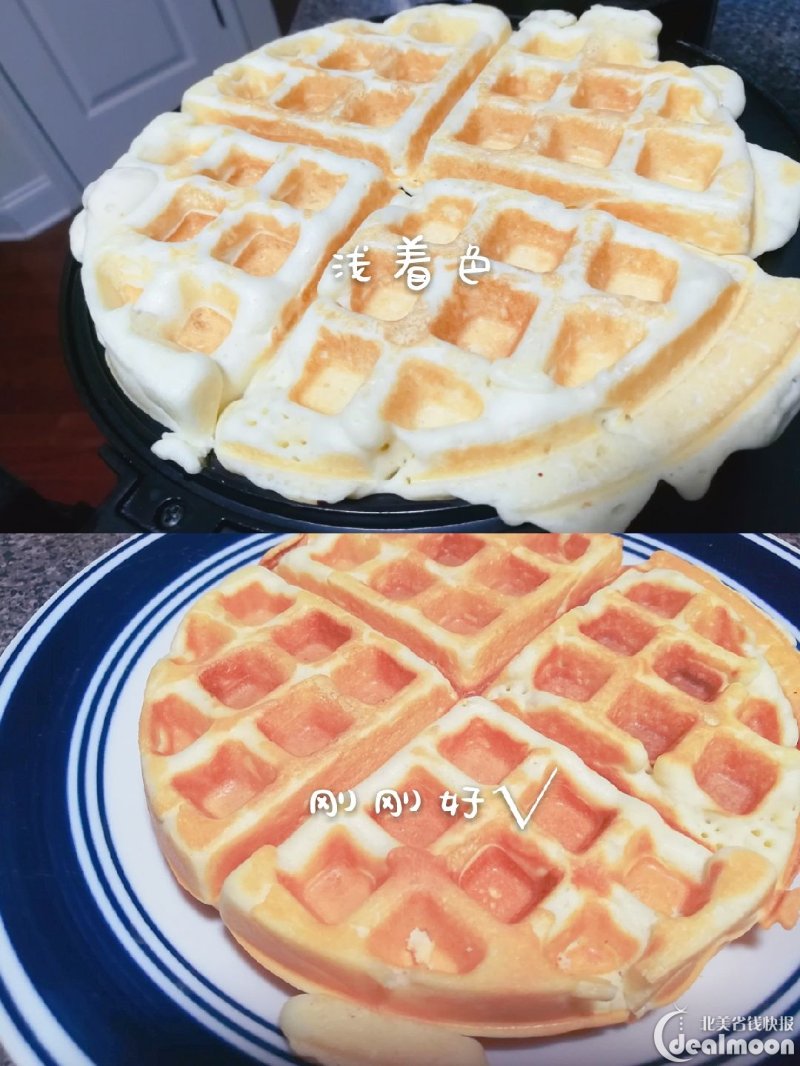
Be prepared to throw away the first waffle. Unless you know your waffle iron like the back of your hand, you’ll probably need the first waffle to test out temperature and cooking time. After the first waffle you should have a better understanding of the amount of batter to add (ours takes a 1/2 cup of batter), the best heat setting and timing.
Before you start making your waffles, heat the oven to 200° F. Once each waffle is done, set the cooked waffle directly on the oven rack to keep it warm and crisp. Repeat with the remaining batter, holding the waffles in the oven (try not to stack them). The extra few minutes in the oven adds even more crispiness to the outside of the waffle and keeps them warm for serving.
For extra light and crispy waffles, separate the eggs. Mix the yolk into the wet ingredients. Then, whip the egg white until stiff peaks form. Once you’ve combined the dry and wet ingredients, fold in the beaten egg whites. Separating the egg and beating the white adds airiness to the waffles and makes them extra light.


 删除注释photo by 欧阳外婆
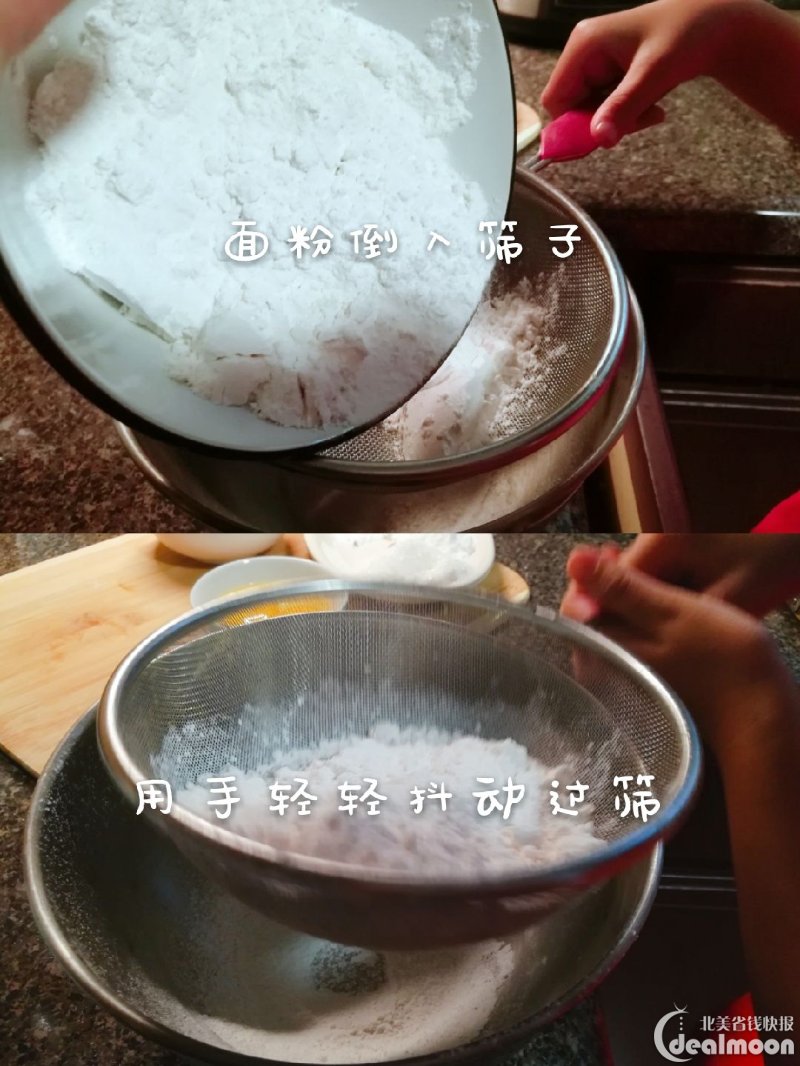
 删除注释Photo by 欧阳外婆
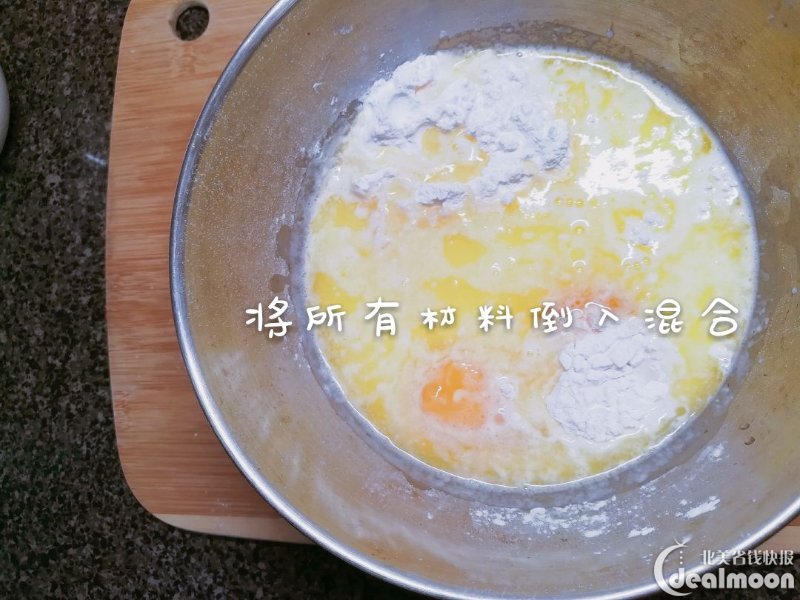 删除注释Photo by 欧阳外婆